Building an MSI


There are two ways to build an MSI for deployment to a BizTalk Server: through Visual Studio or through command-line/script.
Build an MSI from Visual Studio
With your BizTalk solution open in Visual Studio, building an MSI is as simple as a menu or toolbar click.
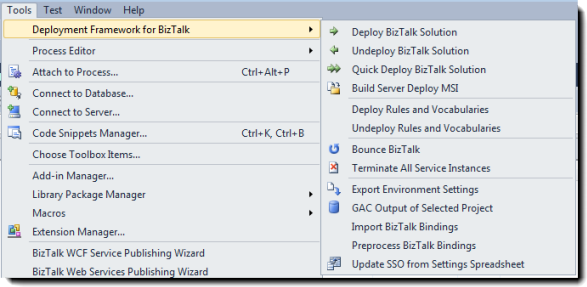
Click the menu item named "Build Server Deploy MSI". You'll also find the icon on the Deployment Framework toolbar. The Deployment Framework for BizTalk will proceed to create the MSI, and you can see the full output from the process in the Visual Studio Output window.
The resulting MSI will be saved to <deploymentProjectFolder>\bin\<solutionConfiguration>. For example, <solutionRoot>\Deployment\bin\Release.
Build an MSI from the Command Line
To build an MSI from the command-line, you need to invoke MSBuild.exe against your deployment project file (.btdfproj) using the following command format:
"<MSBuildPath>\MSBuild.exe" /p:<solutionConfiguration> /t:Installer "<pathToBTDFProj>"
For example:
"C:\Windows\Microsoft.NET\Framework\V4.0.30319\MSBuild.exe" /p:Configuration=Release /t:Installer "C:\TFS\MyBizTalkApp\Deployment\Deployment.btdfproj"
The resulting MSI will be saved to <deploymentProjectFolder>\bin\<solutionConfiguration>. For example, <solutionRoot>\Deployment\bin\Release.
Created with the Personal Edition of HelpNDoc: Free iPhone documentation generator